Perfect Crepe Recipe – Simple & Delicate Delights
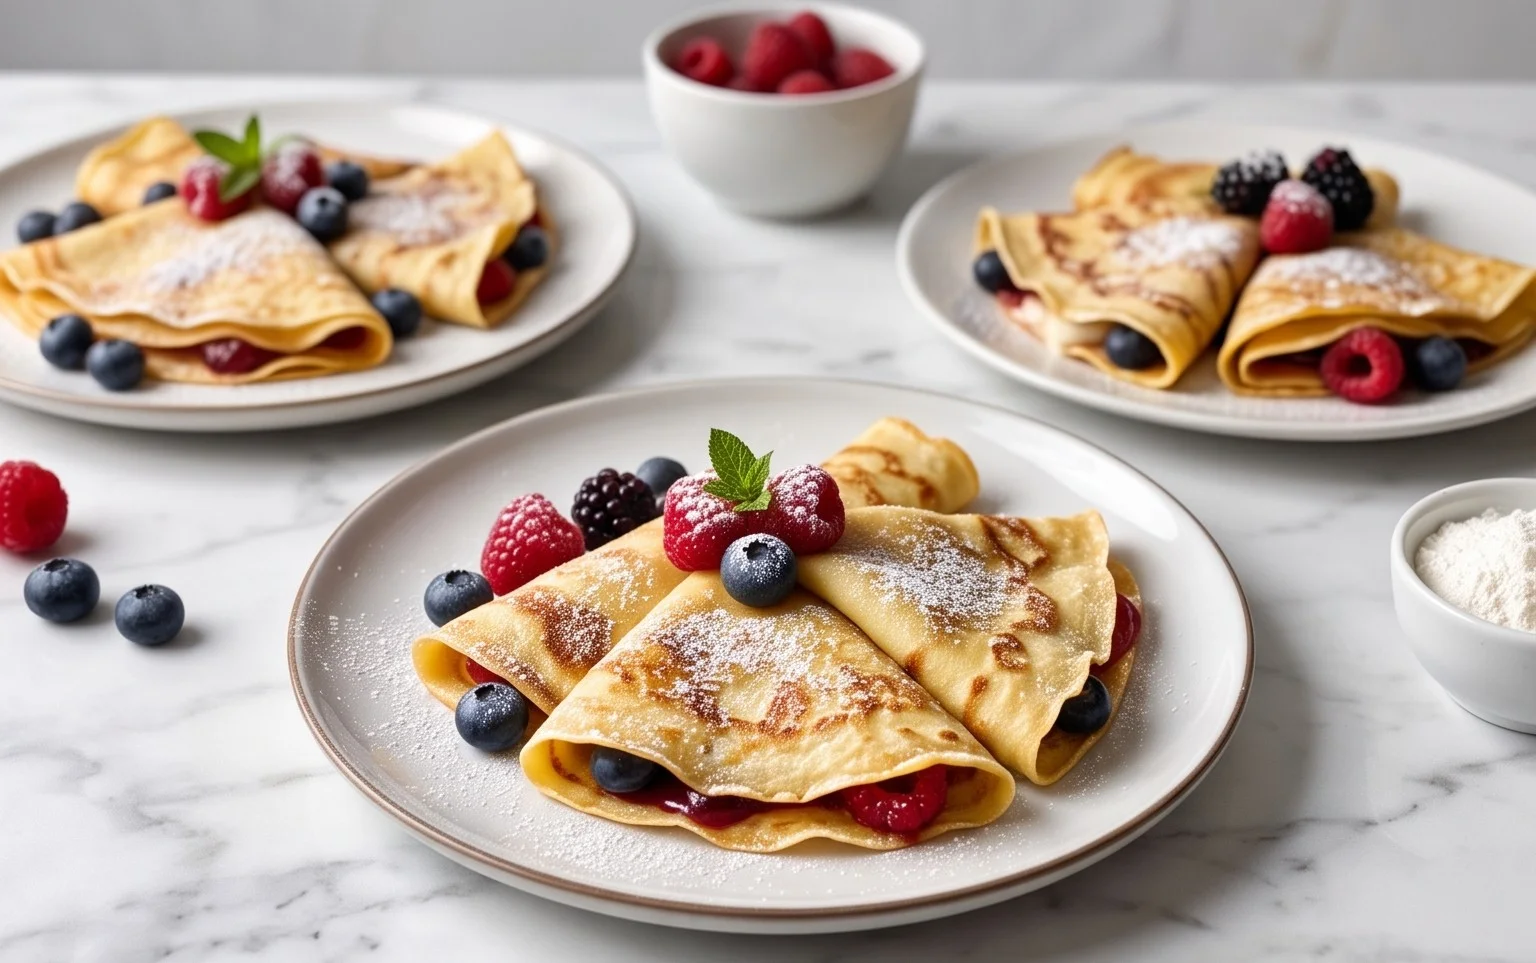
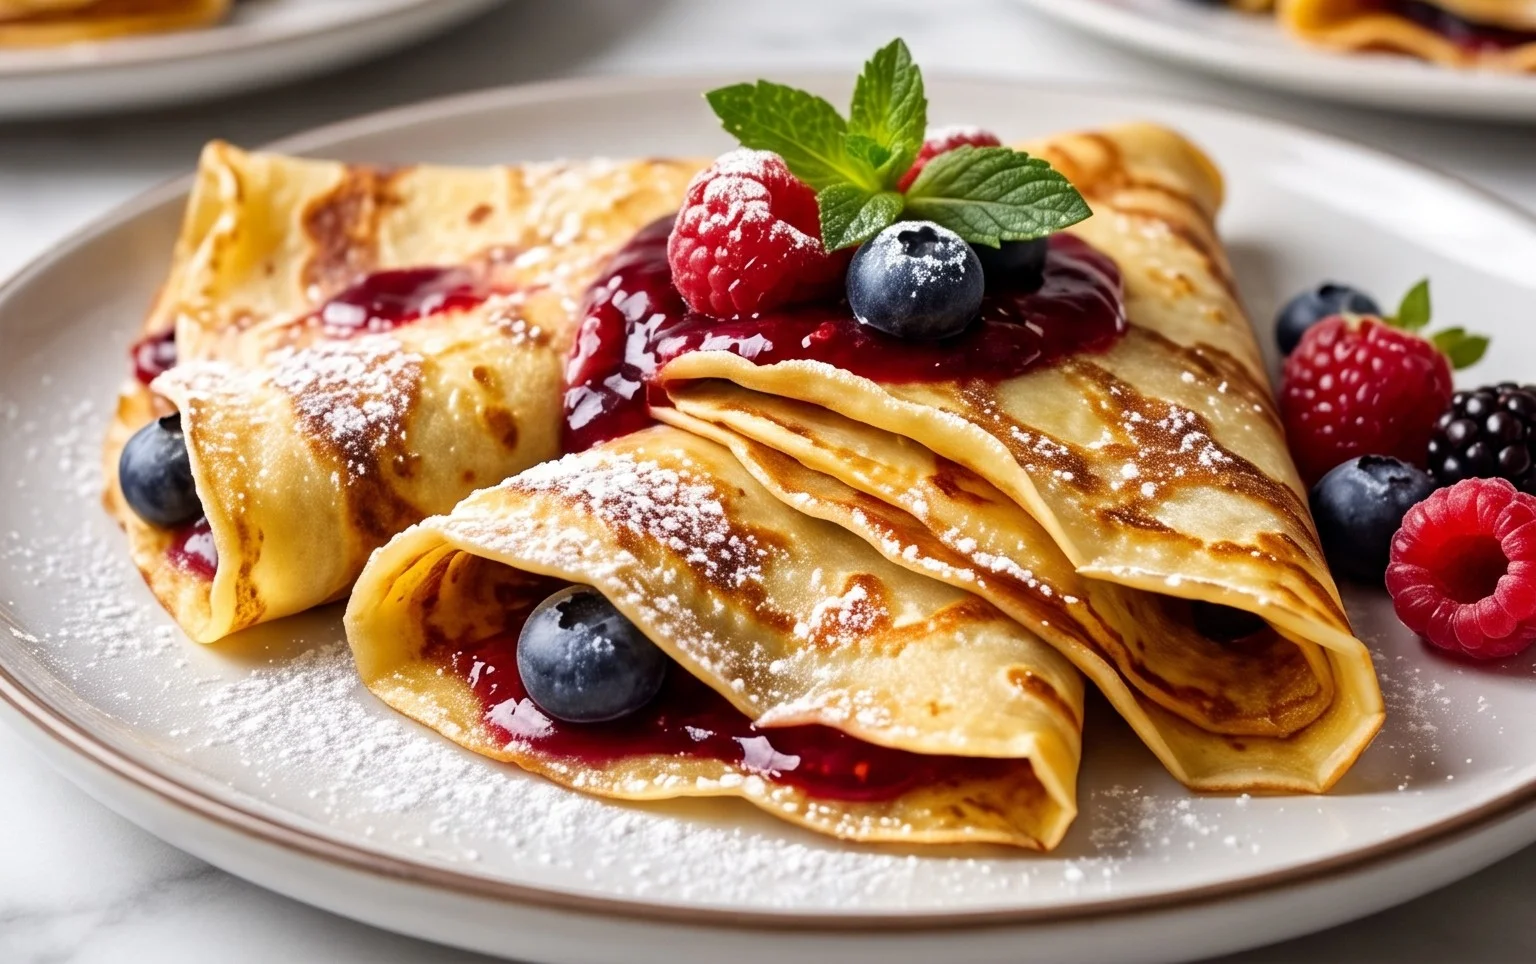
This crepe recipe is your passport to a world of culinary delight, a simple yet elegant dish that can transform any meal into a special occasion. Have you ever found yourself mesmerized by those impossibly thin, delicate pancakes swirling in a pan, ready to be filled with sweet or savory treasures? That’s the magic of crepes, and I’m here to show you just how easy it is to recreate that magic in your own kitchen. People adore crepes for their incredible versatility; they’re the ultimate blank canvas for your imagination. Whether you crave a decadent dessert piled high with fresh berries and whipped cream, or a satisfying savory brunch with beef ham, cheese, and spinach, this crepe recipe can handle it all. What truly sets them apart is their ethereal texture – impossibly light and tender, they melt in your mouth, offering a subtle, buttery base that lets your chosen fillings truly shine. Get ready to fall in love with making crepes!
The Art of the Perfect Crepe: A Simple Guide to Delicate Delights
There’s something incredibly elegant and surprisingly simple about a well-made crepe. Thin, delicate, and endlessly versatile, crepes are the perfect canvas for both sweet and savory creations. Whether you’re dreaming of a breakfast feast piled high with berries and whipped cream, or a sophisticated lunch filled with beef ham and cheese, mastering the crepe is a culinary skill that brings immense satisfaction. Forget those store-bought imposters; making crepes from scratch is a rewarding experience, and with this recipe, you’ll be whipping up perfect batches in no time.
The beauty of crepes lies in their simplicity. The batter is a straightforward mix of pantry staples, and the cooking process, while requiring a little attention, is quite forgiving once you get the hang of it. This recipe focuses on creating a classic, slightly sweet crepe batter that can be adapted to your heart’s content. So, gather your ingredients, put on your favorite apron, and let’s dive into the wonderful world of crepes.
Ingredients:
- 2 cups milk (, I use 2%)
- 1 1/2 cups all-purpose flour (, sifted if desired)
- 2 large eggs
- 3 Tablespoons unsalted butter (, melted and slightly cooled)
- 1 Tablespoon granulated sugar
- 1 teaspoon vanilla extract
- 1/2 teaspoon fine sea salt or table salt
Crafting the Crepe Batter
The foundation of any great crepe is a smooth, lump-free batter. This is where the magic begins, and it’s a process that takes just a few minutes. Don’t be tempted to skip the resting period – it’s crucial for achieving that wonderfully delicate texture.
Step 1: Combine the Wet Ingredients
In a medium-sized bowl, whisk together the milk, eggs, melted and slightly cooled butter, granulated sugar, vanilla extract, and salt. Whisk them thoroughly until everything is well combined and the eggs are fully incorporated. The butter should be melted but not hot, as we don’t want to cook the eggs prematurely. Allowing it to cool slightly ensures a smooth emulsion.
Step 2: Incorporate the Flour
Now, it’s time for the flour. If you’re feeling ambitious and want to ensure an exceptionally smooth batter, you can sift your flour. This helps to aerate it and prevent any potential lumps from forming. Gradually add the flour to the wet ingredients while whisking continuously. Keep whisking until you have a smooth, thin batter that resembles heavy cream. It might seem a bit thin at first, but this is exactly what we’re aiming for. Overmixing at this stage is generally not a concern, as we’re not developing gluten in the same way we would for bread.
Step 3: The Crucial Rest
This is perhaps the most important step for achieving perfectly tender crepes. Once your batter is smooth, cover the bowl tightly with plastic wrap and refrigerate it for at least 30 minutes, or ideally, for an hour. This resting period allows the gluten in the flour to relax, which results in a more tender crepe that is less prone to tearing. It also allows the flour particles to fully hydrate, leading to a smoother texture. If you’re in a hurry, you can try to skip this step, but the results will be noticeably different, and you’ll likely find them a bit tougher.
Cooking the Perfect Crepes
Now for the fun part: transforming that beautiful batter into delicate, golden-brown crepes. A non-stick skillet is your best friend here, and a little bit of butter or oil for greasing is essential for that first crepe.
Step 4: Heating and Greasing the Pan
Place an 8-inch or 10-inch non-stick skillet or a crepe pan over medium heat. You want the pan to be hot, but not scorching. A good way to test this is to flick a few drops of water onto the surface; they should sizzle and evaporate quickly. Lightly grease the pan with a tiny bit of butter or cooking spray, wiping away any excess with a paper towel. This initial greasing is important for the first crepe, and you might find you need to grease it again sparingly between crepes, depending on your pan’s non-stick capabilities.
Step 5: Pouring and Swirling the Batter
Once the pan is hot and lightly greased, it’s time to pour your batter. Ladle about 1/4 cup of batter into the center of the hot skillet. Immediately pick up the pan and swirl it around in a circular motion, tilting and turning it to allow the batter to spread evenly and thinly across the entire bottom surface. Work quickly, as the batter will start to set as soon as it hits the hot pan. The goal is to create a thin, even layer – the thinner, the better for delicate crepes. If you end up with a small hole or a patch that didn’t get covered, you can quickly fill it in with a little extra batter from your ladle.
Step 6: The First Flip (and Beyond!)
Cook the crepe for about 1 to 2 minutes, or until the edges start to lift and the surface appears set and no longer wet. You’ll see small bubbles forming on the surface. Gently lift an edge with a thin spatula or your fingers (if you dare!) to peek underneath. When the underside is a beautiful golden-brown, it’s time to flip. Slide your spatula underneath the entire crepe and carefully flip it over. Cook the second side for another 30 seconds to 1 minute, just until lightly golden.
Step 7: Stacking and Serving
As each crepe is cooked, slide it onto a plate. You can stack them directly on top of each other as you go; the residual heat will keep them warm and pliable. If you’re making a large batch and want to keep them warm for a longer period, you can place the plate in a low oven (around 200°F / 95°C) or cover them with a clean kitchen towel. Once you’ve finished cooking all the batter, your crepes are ready to be filled, folded, and enjoyed! The possibilities are truly endless, from a simple dusting of powdered sugar and a squeeze of lemon to a decadent chocolate hazelnut spread, or savory fillings like spinach and ricotta. Enjoy your homemade crepe masterpiece!
Conclusion:
So there you have it – a simple yet incredibly versatile crepe recipe that’s perfect for any occasion! These delicate, paper-thin pancakes are a delight to make and even more of a joy to eat. Their light texture and subtle flavor make them the perfect canvas for a world of sweet and savory creations. Whether you’re looking for a quick breakfast, a delightful brunch addition, or an elegant dessert, these crepes will undoubtedly impress.
I encourage you to dive in and give this crepe recipe a try. Don’t be intimidated by the idea of making them; with a little practice, you’ll be flipping perfect crepes like a pro in no time. Get creative with your fillings! For sweet options, think fresh berries with whipped cream, Nutella, sliced bananas, or a drizzle of maple syrup. For savory meals, consider beef ham and cheese, spinach and feta, or smoked salmon with cream cheese. The possibilities are truly endless!
Frequently Asked Questions:
Why are my crepes tearing when I try to flip them?
Tearing often happens if the batter is too thin, the pan isn’t hot enough, or you’re trying to flip too early. Ensure your pan is well-greased and heated over medium heat. Let the crepe cook until the edges start to lift and the surface looks set before attempting to flip. A thin, flexible spatula is also key.
Can I make the crepe batter ahead of time?
Absolutely! This crepe batter can be made a day in advance and stored in an airtight container in the refrigerator. The resting period actually helps the gluten relax, resulting in more tender crepes. Just give it a good whisk before using.
What’s the difference between crepes and pancakes?
The main difference lies in the batter and thickness. Crepe batter is much thinner, contains less leavening (or none at all), and results in thin, delicate pancakes, while traditional pancakes are thicker and fluffier due to the use of leavening agents like baking powder.
Classic Crepe Recipe
A simple and versatile recipe for making delicate and delicious crepes, perfect for any filling.
Ingredients
-
2 cups milk
-
4 large eggs
-
3 Tablespoons unsalted butter, melted and slightly cooled
-
1 Tablespoon granulated sugar
-
1 teaspoon vanilla extract
-
1/2 teaspoon fine sea salt
-
1 1/2 cups all-purpose flour
Instructions
-
Step 1
In a large bowl, whisk together the milk and eggs until well combined. -
Step 2
Add the melted butter, granulated sugar, vanilla extract, and salt to the milk and egg mixture. Whisk until smooth. -
Step 3
Gradually whisk in the all-purpose flour until a smooth batter forms, free of lumps. If desired, sift the flour beforehand for an even smoother batter. -
Step 4
Heat a lightly oiled non-stick skillet or crepe pan over medium heat. Pour about 1/4 cup of batter into the hot pan and swirl to coat the bottom evenly. -
Step 5
Cook for about 1-2 minutes per side, or until the edges lift easily and the crepe is lightly golden brown. Flip and cook the other side for another minute. -
Step 6
Slide the cooked crepe onto a plate and repeat with the remaining batter, stacking the crepes as you go.
Important Information
Nutrition Facts (Per Serving)
It is important to consider this information as approximate and not to use it as definitive health advice.
Allergy Information
Please check ingredients for potential allergens and consult a health professional if in doubt.