Easy Homemade Fruit Leather Recipe
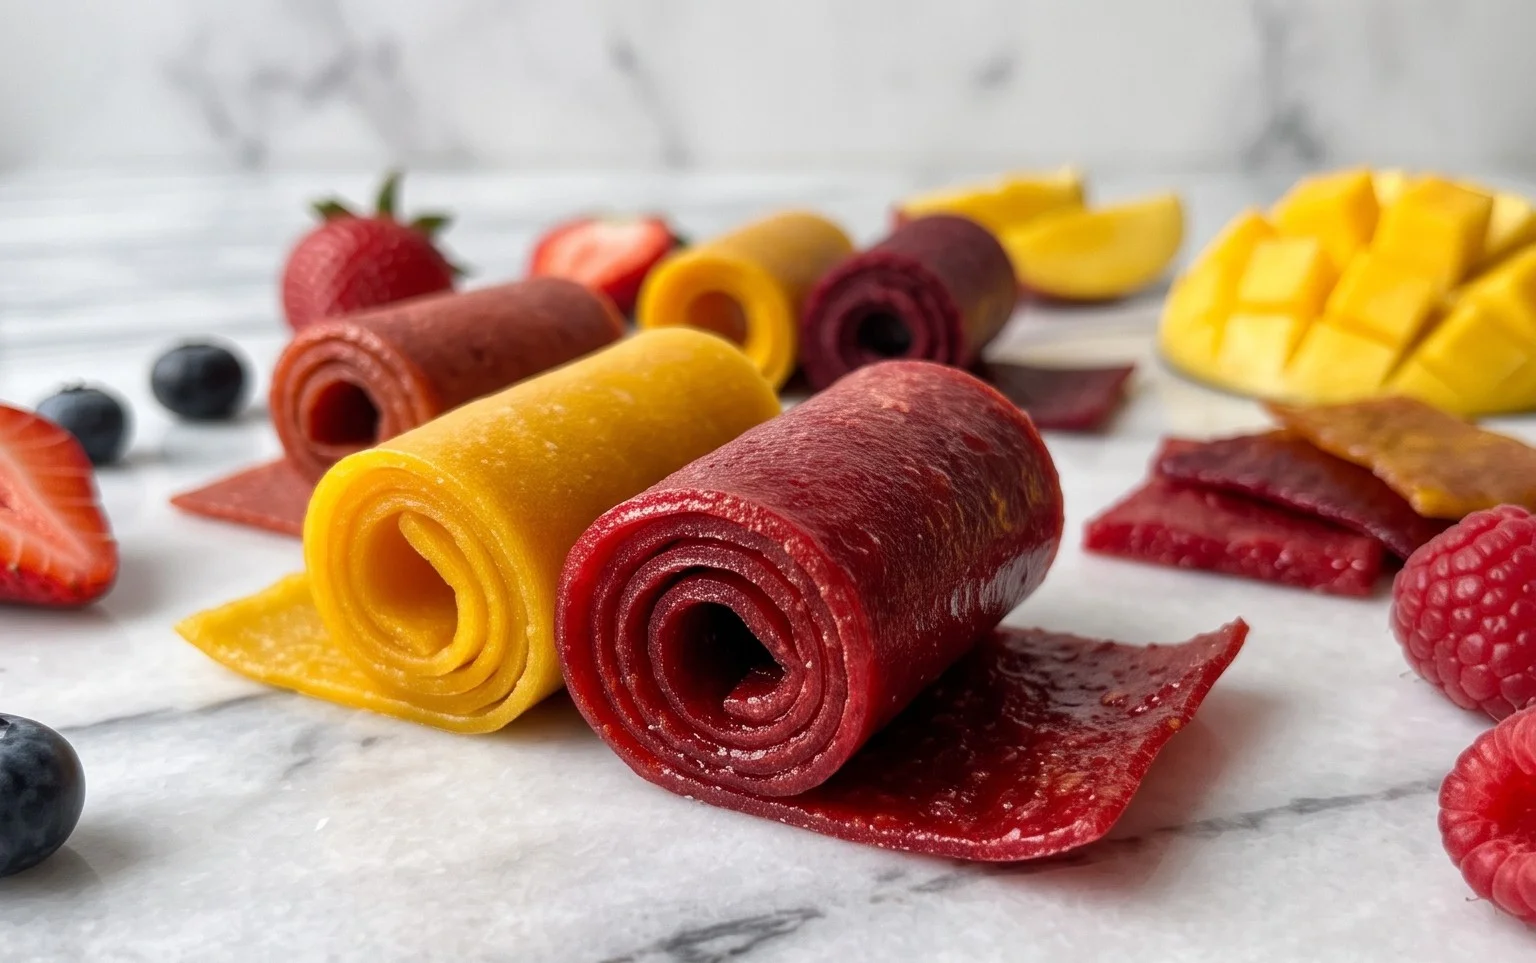
Homemade fruit leather is a delightful treat that brings back childhood memories and satisfies sweet cravings with a healthy twist. There’s something truly magical about transforming simple, fresh fruit into these chewy, intensely flavored strips. It’s the perfect way to preserve the vibrant taste of seasonal produce, offering a burst of sunshine in every bite. Unlike store-bought versions often loaded with added sugars and artificial flavors, our homemade fruit leather recipe lets you control exactly what goes in, making it a guilt-free indulgence for both kids and adults. The simplicity of the process, combined with the pure, unadulterated flavor of fruit, is what makes this DIY snack so special. Get ready to create your own delicious, naturally sweet fruit leather that will have everyone asking for more!
Homemade Fruit Leather Recipe
There’s something incredibly satisfying about making your own snacks, and fruit leather is one of the easiest and most rewarding treats to whip up in your own kitchen. Forget those cellophane-wrapped, artificially flavored varieties; homemade fruit leather is a vibrant, intensely fruity, and wonderfully chewy delight that you can customize with your favorite fruits. It’s a fantastic way to use up seasonal produce, and it’s a healthier alternative for satisfying those sweet cravings. Plus, kids absolutely adore it – making it a win-win for parents and little ones alike.
Making fruit leather might sound a little intimidating, but trust me, it’s incredibly simple. It mainly involves blending fruit, cooking it down slightly, and then dehydrating it until it reaches that perfect chewy texture. The results are a wonderfully concentrated burst of fruit flavor, naturally sweet (with just a touch of added sugar for balance), and completely free from preservatives and artificial colors. We’re going to focus on a simple yet delicious base recipe that you can easily adapt.
Ingredients:
- 2 cups fruit, chopped (berries, mango, peach, apple, or a combination work beautifully)
- 3 tbsp white sugar (adjust to your fruit’s sweetness and your preference)
- ½ whole lemon, just the juice
Preparing Your Fruit
The first step to fantastic fruit leather is choosing and preparing your fruit. I love using a mix of berries like strawberries and raspberries for their vibrant color and tartness, but ripe mangoes or peaches offer a wonderfully sweet and tropical flavor. Apples, especially sweeter varieties like Fuji or Gala, also make a great base. For this recipe, I’m using about 2 cups of chopped fruit. If you’re using frozen fruit, make sure to thaw it completely and drain off any excess liquid before measuring. Ensure your fruit is ripe for the best flavor and natural sweetness. Chop your fruit into roughly uniform pieces to ensure it blends smoothly.
Cooking Instructions
Now, let’s get cooking! This process is all about concentrating the fruit’s natural flavors and reducing its moisture content.
- Puree the Fruit: Place your 2 cups of chopped fruit into a blender or food processor. Add the 3 tablespoons of white sugar and the juice of half a lemon. The lemon juice is crucial here. It not only adds a bright, fresh tang that balances the sweetness but also acts as a natural preservative, helping your fruit leather last longer and preventing it from oxidizing and turning brown. Blend everything until you have a very smooth puree. You don’t want any chunky bits left; a completely smooth consistency is key for an even texture in your finished leather. If your fruit is particularly fibrous, you might want to pass the puree through a fine-mesh sieve to remove any seeds or tough pulp, though for most common fruits, this isn’t necessary.
- Cook Down the Puree: Pour the fruit puree into a medium saucepan. Place the saucepan over medium heat. Bring the mixture to a gentle simmer, stirring frequently. The goal here is to cook off some of the excess water content from the fruit and slightly thicken the puree. This will concentrate the flavors and also help the fruit leather dry more efficiently. Continue to simmer, stirring often to prevent sticking, for about 10-15 minutes. The mixture will start to thicken slightly, resembling a thick applesauce. You’ll notice it coats the back of a spoon more readily. Don’t let it boil vigorously; a gentle simmer is perfect.
- Prepare for Dehydrating: Preheat your oven to its lowest possible temperature, typically around 170°F (75°C) to 200°F (95°C). Line a large baking sheet with parchment paper or a silicone baking mat. Make sure the parchment paper is completely flat and covers the entire surface of the baking sheet. If you’re using parchment paper, you might want to secure the corners with a tiny bit of the fruit puree on the underside to prevent it from curling up. Spread the cooked fruit puree evenly over the prepared baking sheet, aiming for a thickness of about ¼ inch. Try to get it as uniform as possible to ensure even drying. You can use an offset spatula or the back of a spoon to spread it out. Avoid spreading it too thin, as it might become too brittle, or too thick, as it will take much longer to dry.
- Dehydrate the Fruit Leather: Carefully place the prepared baking sheet into your preheated oven. You’ll need to leave the oven door slightly ajar to allow moisture to escape. You can prop it open with the handle of a wooden spoon or a small heatproof object. This step is vital for proper dehydration. Bake for 4-8 hours, depending on your oven’s temperature and humidity levels. The fruit leather is ready when it’s no longer sticky to the touch and has a pliable, leathery texture. It should peel cleanly away from the parchment paper. Check it periodically, especially in the later stages, to prevent over-drying. If you notice some areas are drying faster than others, you can rotate the baking sheet.
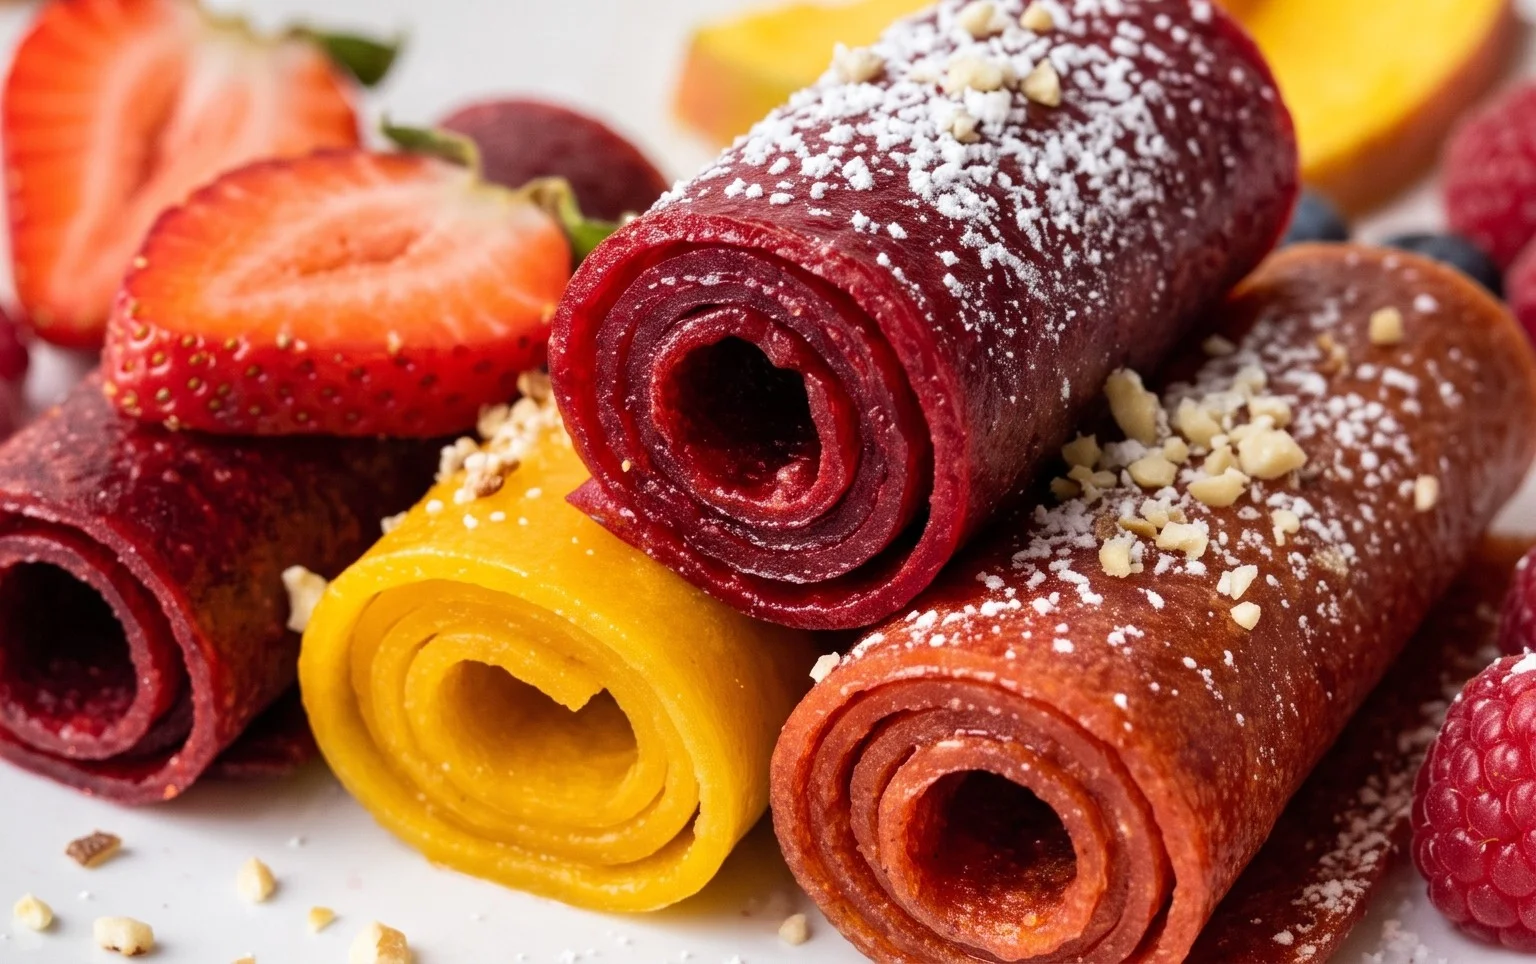
- Cool and Cut: Once your fruit leather is fully dried, carefully remove the baking sheet from the oven. Let the fruit leather cool completely on the baking sheet. This cooling process is important as it will firm up the leather even further. Once completely cool, you can peel the fruit leather off the parchment paper. If it’s sticking in a few spots, gently run a thin spatula underneath it. You can then roll it up into logs or cut it into strips or squares using a sharp knife or pizza cutter. For storage, I like to roll mine up tightly in parchment paper or wax paper, which prevents it from sticking to itself and keeps it fresh. Store your homemade fruit leather in an airtight container at room temperature for a week or two, or in the refrigerator for even longer shelf life. Enjoy your delicious, homemade creation!
Conclusion:
Making your own fruit leather is a wonderfully rewarding and surprisingly simple process that I absolutely adore. It’s a fantastic way to preserve the vibrant flavors of seasonal fruits, creating a healthy and delicious snack that everyone will love. The versatility of this homemade fruit leather recipe is one of its biggest strengths; you can tailor it to your favorite fruits or even create exciting flavor combinations. Whether you’re looking for a guilt-free treat for yourself, a fun activity to do with kids, or a unique homemade gift, this recipe delivers. Don’t be afraid to experiment!
For serving suggestions, fruit leather is perfect on its own as a chewy, sweet snack. It’s also a delightful addition to lunchboxes, a great hiking companion, or even a fun topping for yogurt or ice cream. For variations, consider adding a pinch of cinnamon or ginger to your fruit puree for a warming twist, or perhaps a squeeze of lime for a zesty kick. Mixing different fruits is also highly encouraged – imagine a strawberry-mango blend or a tangy raspberry-apple creation! I truly hope you’ll give this homemade fruit leather recipe a try. You might be surprised at how easy and satisfying it is to create these delightful fruit strips right in your own kitchen!
Frequently Asked Questions about Homemade Fruit Leather:
Can I make fruit leather without a dehydrator?
Absolutely! While a dehydrator makes the process very hands-off, you can easily make fruit leather in your oven. Simply set your oven to its lowest temperature (around 170°F or 75°C) and leave the oven door slightly ajar to allow moisture to escape. Keep a close eye on it, as cooking times will vary.
How long does homemade fruit leather last?
Properly stored, homemade fruit leather can last for several weeks at room temperature in an airtight container. For longer storage, you can also keep it in the refrigerator or freezer, where it will remain fresh for even longer.
What are the best fruits to use for fruit leather?
Most fruits work well, but some are particularly excellent due to their natural pectin content and vibrant flavors. Berries, apples, apricots, peaches, plums, and mangoes are fantastic choices. For a tangier flavor, consider adding a bit of citrus juice.
Homemade Fruit Leather
A simple and delicious way to preserve fresh fruit into a sweet, chewy snack.
Ingredients
-
2 cups fruit, chopped
-
3 tbsp white sugar
-
½ whole lemon, just the juice
-
1/4 cup water
-
1 tsp cornstarch
-
1/2 tsp vanilla extract
Instructions
-
Step 1
Prepare your fruit: Wash, chop, and remove any pits or seeds from your chosen fruit. Aim for about 2 cups of chopped fruit. -
Step 2
Cook the fruit: In a saucepan, combine the chopped fruit with white sugar and the juice of half a lemon. Cook over medium heat, stirring occasionally, until the fruit breaks down and becomes soft, about 5-7 minutes. -
Step 3
Blend the mixture: Transfer the cooked fruit mixture to a blender or food processor. Add 1/4 cup water and blend until completely smooth. For a smoother texture, strain the puree through a fine-mesh sieve. -
Step 4
Thicken the puree: Return the smooth puree to the saucepan. In a small bowl, whisk together 1 tsp cornstarch with 2 tbsp of the fruit puree to create a slurry. Stir this slurry back into the saucepan along with 1/2 tsp vanilla extract. Cook over low heat, stirring constantly, until the mixture thickens to a pudding-like consistency, about 2-3 minutes. -
Step 5
Dehydrate the leather: Preheat your oven to its lowest setting (around 170°F or 75°C). Line a baking sheet with parchment paper or a silicone baking mat. Pour the thickened fruit mixture onto the prepared baking sheet and spread it evenly into a thin layer, about 1/8 inch thick. -
Step 6
Bake until pliable: Bake in the preheated oven for 2-4 hours, or until the fruit leather is no longer sticky to the touch and is pliable. The baking time will vary depending on your oven and the thickness of the leather. -
Step 7
Cool and cut: Let the fruit leather cool completely on the baking sheet. Once cooled, peel it off the parchment paper or mat and cut it into desired strips or shapes.
Important Information
Nutrition Facts (Per Serving)
It is important to consider this information as approximate and not to use it as definitive health advice.
Allergy Information
Please check ingredients for potential allergens and consult a health professional if in doubt.