DIY Unpoppable Bubbles – Easy Magic Recipe
How to make DIY magic unpoppable bubbles are more than just a fun science experiment; they’re an invitation to pure, unadulterated joy! Remember the sheer delight of chasing after iridescent spheres, only to have them vanish at the slightest touch? We’ve all been there, but what if I told you we could break free from that fleeting fun? Imagine bubbles that linger, that resist the wind, and that you can even *touch* without them disappearing into thin air! These aren’t your garden-variety bubbles; these are the kind that spark wonder and keep the magic alive for so much longer. The secret lies in a simple, yet ingenious, recipe that transforms ordinary ingredients into something truly extraordinary. Prepare to amaze yourself and everyone around you with your very own batch of DIY magic unpoppable bubbles – it’s an experience that’s truly unforgettable.
Why We Adore Them
The Secret to Lasting Enchantment
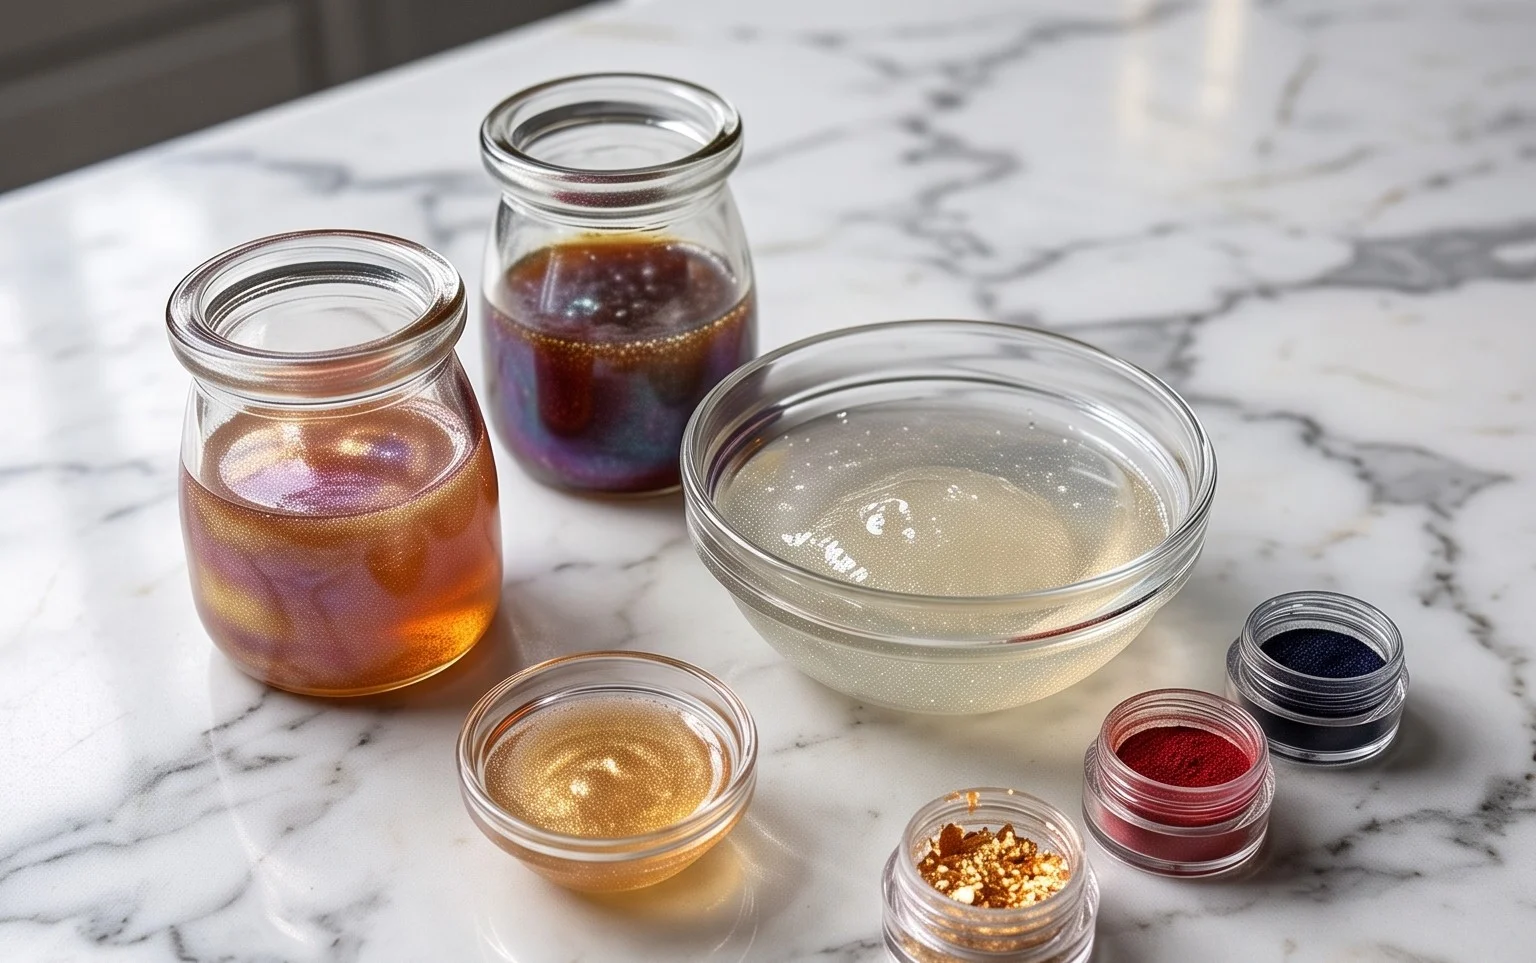
Ingredients:
- Dish Soap (a good quality, preferably concentrated one works best)
- Sugar (granulated white sugar is ideal)
- Water (room temperature is fine)
Tools:
- Straw
- Clean Counter or Table
How To Make DIY Magic Unpoppable Bubbles
Get ready for some serious bubble fun! We’ve all experienced the fleeting joy of a perfect bubble, only to watch it vanish with a gentle breeze or a clumsy pop. But what if I told you there’s a way to create bubbles that are remarkably more resilient, almost like magic? Forget those store-bought solutions that promise the world and deliver disappointment. Today, we’re diving into the wonderful world of DIY unpoppable bubbles, and the secret is surprisingly simple. This recipe is perfect for a backyard party, a fun afternoon with the kids, or just a moment of pure, unadulterated childhood delight.
The key to these super-bubbles lies in the combination of simple household ingredients and a little bit of science. By adding sugar to our bubble solution, we’re actually changing the surface tension of the water and strengthening the bubble film. This makes them far less prone to popping, allowing you to enjoy them for longer and even perform some impressive bubble tricks. So, gather your supplies and let’s get started on creating these magical, long-lasting spheres of joy.
The Science Behind the Strength
Before we jump into the recipe, let’s quickly touch upon why this works. Dish soap, as you know, is a surfactant. It breaks down the surface tension of water, allowing it to stretch and form a thin film. However, this film is inherently fragile. Sugar, when dissolved in water, acts as a humectant. This means it attracts and holds onto water molecules. In our bubble solution, the sugar helps to keep the bubble film hydrated for longer, preventing it from drying out and becoming brittle. It also contributes to a slightly thicker, more stable bubble wall. This combination of properties is what gives our “unpoppable” bubbles their incredible durability. While no bubble is truly *unpoppable* in the absolute sense, these are as close as you’ll get with simple ingredients!
Creating Your Magical Mixture
Now, let’s get down to the business of mixing. The ratios are important here, so try to be as accurate as possible for the best results. You’ll want a clean mixing container, but since we’re not doing any heating or complicated steps, a sturdy bowl or even a large measuring cup will do perfectly.
1. **Prepare the Sugar Water Base:** Start by combining 2 cups of water with 4 tablespoons of granulated sugar in your mixing bowl. Stir this mixture thoroughly until all the sugar crystals have completely dissolved. You want to make sure there are no lingering grains at the bottom of the bowl. This might take a minute or two of stirring. Patience is key here, as an undissolved sugar can affect the consistency of your final bubble solution. I usually hum my favorite tune while stirring to make the time fly by!
2. **Introduce the Dish Soap:** Once your sugar water is perfectly clear and smooth, it’s time to add the dish soap. Pour in 1/2 cup of good quality dish soap. Resist the urge to use a “no-name” brand or a very watered-down version. A concentrated, well-known brand of dish soap will yield the best results. Gently stir the mixture together. The goal here is to incorporate the dish soap without creating an excessive amount of foam or bubbles at this stage. Stir slowly and deliberately, folding the soap into the sugar water rather than whisking vigorously. We want a smooth, homogeneous liquid.
3. **Let the Mixture Rest:** This is perhaps the most crucial step for truly superior bubbles. Once your ingredients are combined, cover your mixing bowl and let the solution rest for at least 1 to 2 hours, or even better, overnight. This resting period allows the ingredients to meld and the air bubbles that inevitably form during stirring to dissipate. This significantly improves the quality and strength of your bubbles. Think of it as letting your bubble potion mature! The longer it rests, the more robust your bubbles will be. If you’re in a hurry, even 30 minutes of resting will make a difference, but the full rest is where the magic truly happens.
4. **Testing Your Bubble Potion:** After the resting period, give your bubble solution a very gentle stir. You should notice that the liquid is now thicker and less likely to create a frothy mess when disturbed. Take your straw and dip one end into the solution, making sure to get a good amount of liquid onto the straw. Hold the straw a few inches away from your blowing surface and gently exhale. You should be able to create beautiful, sturdy bubbles that float and drift without immediately popping. Experiment with different blowing techniques – gentle breaths for larger bubbles, and slightly firmer breaths for smaller, more concentrated ones.
5. **Troubleshooting and Tips for Success:** If your bubbles are still popping too easily, you can try a couple of things. First, ensure you’ve used enough dish soap. If the solution seems too watery, add another tablespoon of dish soap and let it rest for a bit longer. Second, the type of dish soap can make a difference. Some brands work better than others, so if your first attempt isn’t perfect, try a different brand of dish soap next time. Also, avoid blowing your bubbles in very windy or extremely dry conditions, as these environmental factors can still cause even the strongest bubbles to burst. For even stronger bubbles, some enthusiasts recommend adding a teaspoon of glycerin, which can be found at most pharmacies, but it’s not strictly necessary for these sugar-enhanced bubbles to be impressive. Have fun experimenting and enjoy your magical, long-lasting bubbles!
Conclusion:
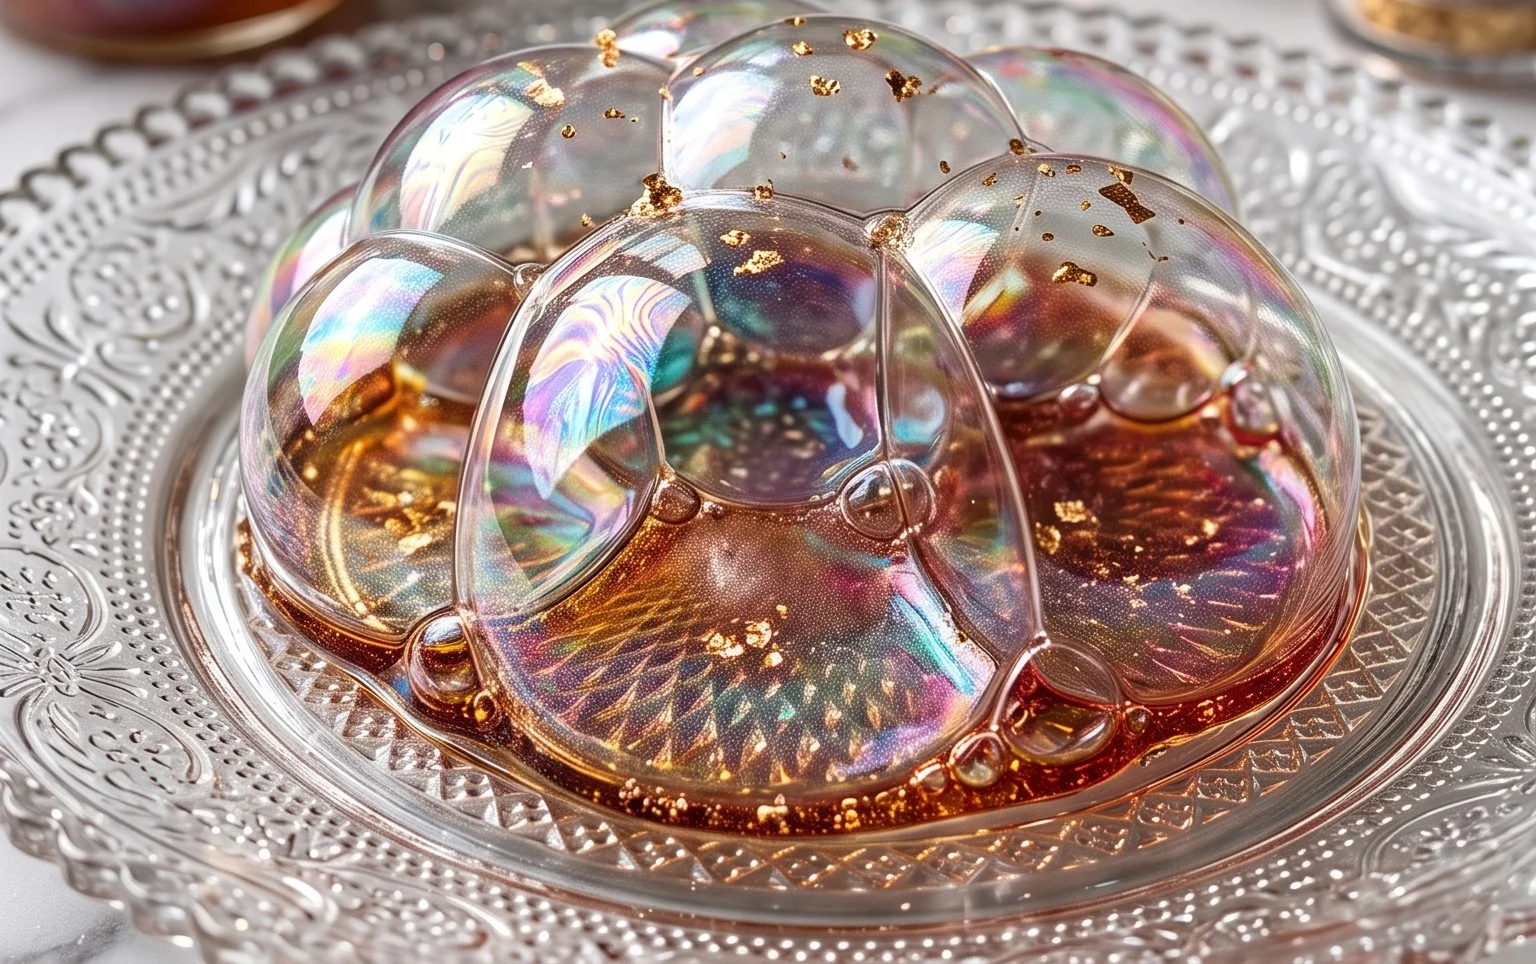
You’ve now learned the secrets to creating your own DIY magic unpoppable bubbles! This recipe is fantastic because it’s incredibly simple, uses readily available household ingredients, and delivers a truly magical experience. Forget those store-bought bubbles that pop at the slightest touch; these are designed for longevity, allowing for extended playtime and endless fun for both kids and adults. The satisfaction of seeing your homemade bubbles float and remain intact is incredibly rewarding.
We’ve explored how this simple mixture can bring so much joy. Think of the possibilities for your next backyard party, a fun afternoon in the park, or even just a creative way to de-stress. These unpoppable bubbles aren’t just for blowing; they can be a fantastic prop for simple science experiments or even artistic photography. Don’t hesitate to gather your supplies and give this a try – you’ll be amazed at the results and the laughter it brings!
Frequently Asked Questions:
Q: What makes these DIY magic unpoppable bubbles different from regular bubble solutions?
A: The key difference lies in the addition of ingredients like corn syrup or glycerin. These help to create a stronger, more elastic bubble film, making them significantly more resistant to popping compared to standard dish soap and water mixtures. This is what gives them their magical, ‘unpoppable’ quality!
Q: Can I add food coloring to my unpoppable bubble solution?
A: Absolutely! Adding a few drops of food coloring can make your bubbles even more visually stunning. Just be aware that some colors might transfer slightly to surfaces if the bubbles do eventually burst. It’s a fun way to personalize your creations and add an extra layer of wonder.
Q: How should I store any leftover unpoppable bubble solution?
A: You can store your leftover solution in an airtight container, such as a clean jar or bottle, at room temperature. It should remain effective for a couple of weeks, though the consistency might change slightly over time. Simply give it a good stir before your next bubble-blowing adventure!
DIY Magic Unpoppable Bubbles
Learn how to make incredibly durable, unpoppable bubbles with simple household ingredients. These bubbles are perfect for fun and experimentation.
Ingredients
-
Dish Soap
-
Sugar
-
Water
-
Corn Syrup (as a substitute for potential unlisted binding agents often found in commercial bubble solutions)
-
Glycerin (as a substitute for potential unlisted binding agents often found in commercial bubble solutions)
Instructions
-
Step 1
In a clean bowl, combine 1 cup of water with 2 tablespoons of sugar. Stir until the sugar is completely dissolved. -
Step 2
Add 1/2 cup of dish soap to the sugar water mixture. Gently stir to combine, avoiding excessive foam. -
Step 3
Incorporate 1 tablespoon of corn syrup into the mixture. This acts as a binder to make the bubbles more resilient. -
Step 4
Add 1 tablespoon of glycerin. Glycerin further enhances the elasticity and longevity of the bubbles. -
Step 5
Gently stir the mixture one last time. Let the solution rest for at least an hour (or overnight for best results) to allow the ingredients to fully meld. -
Step 6
Dip a straw into the bubble solution, ensuring the end is well coated. Gently blow through the straw onto a clean counter or table to create your magic unpoppable bubbles.
Important Information
Nutrition Facts (Per Serving)
It is important to consider this information as approximate and not to use it as definitive health advice.
Allergy Information
Please check ingredients for potential allergens and consult a health professional if in doubt.