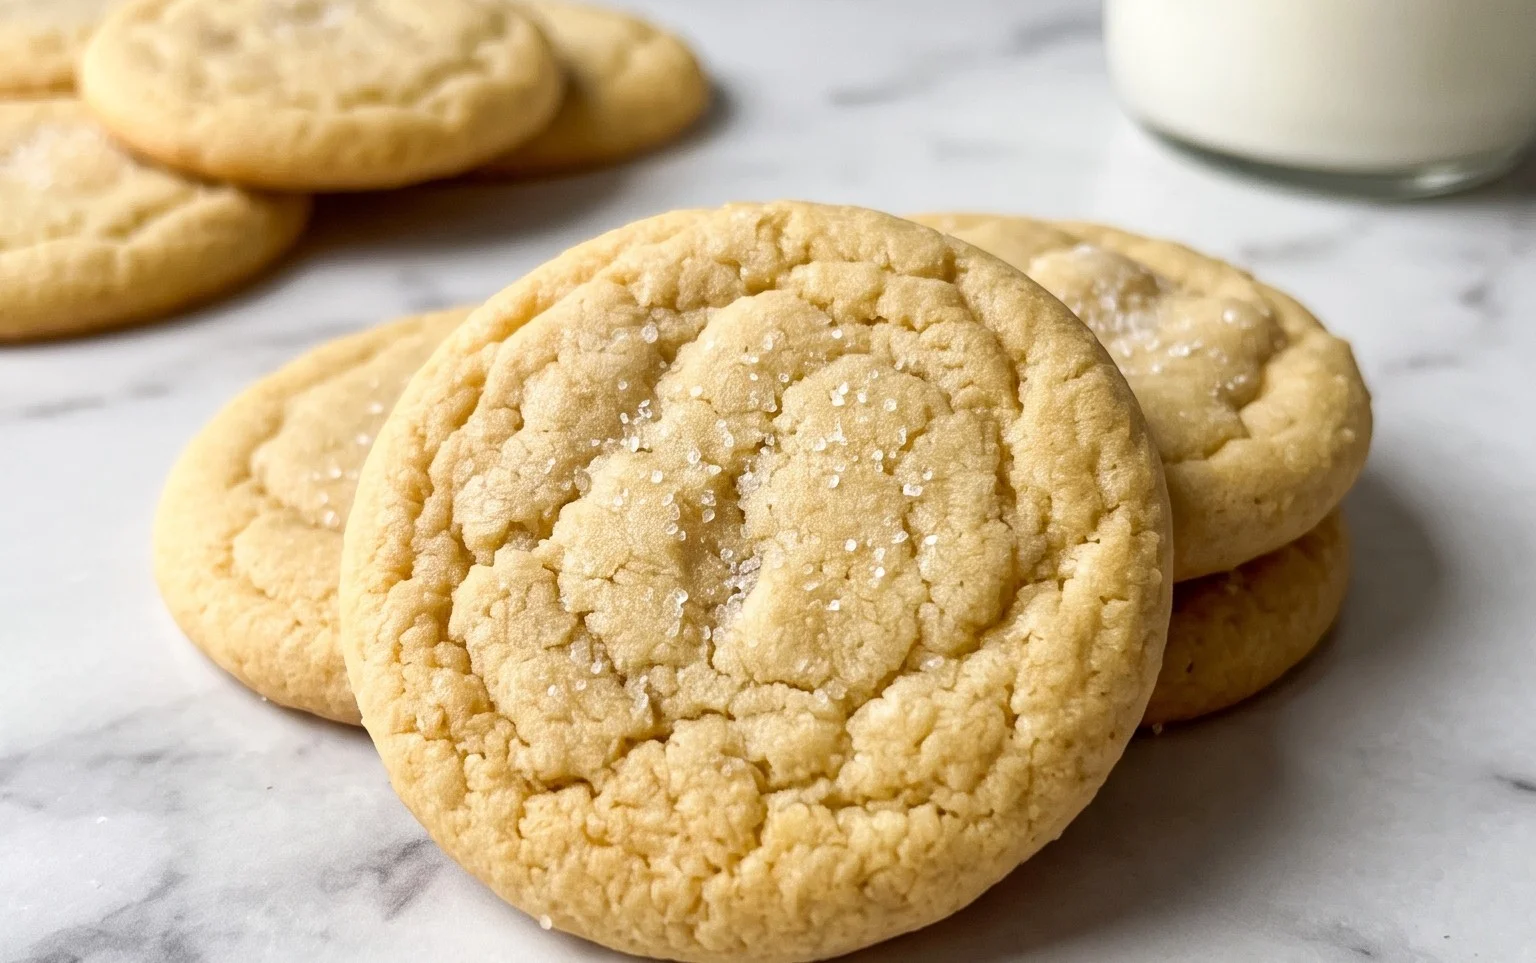
Back to School Cookies-Edible Cheerleaders for Kids
Back to school cookies are more than just a sweet treat; they’re a nostalgic hug, a comforting aroma, and a delicious way to mark the exciting transition back to a new academic year. As the summer sun begins to wane and the school buses rumble back to life, there’s an undeniable urge to bake something that feels familiar and grounding. These classic cookies, whether they’re soft and chewy chocolate chip, perfectly crisp sugar cookies adorned with fun designs, or even a hearty oatmeal raisin, evoke memories of packed lunchboxes, sharpened pencils, and that unique blend of anticipation and excitement that only the start of school can bring. What truly makes these back to school cookies so special is their ability to transform simple ingredients into edible moments of joy. They’re the perfect reward after a long day, a thoughtful gesture for a teacher, or simply a delicious excuse to gather the family in the kitchen. Let’s dive into creating some delicious memories!
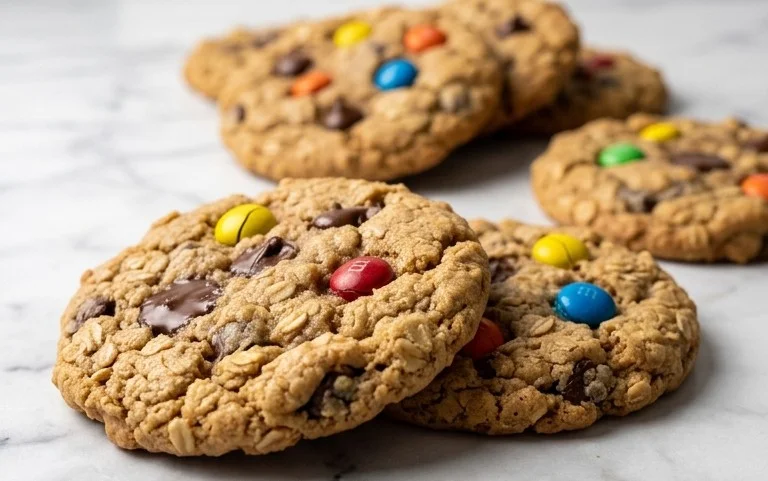
Back to School Cookies
The crisp air, the rustle of new notebooks, and the faint scent of pencil shavings – it all signals the return to school! And what better way to celebrate this exciting time than with a batch of homemade “Back to School” cookies? These aren’t just any cookies; they’re little edible cheerleaders, designed to bring a smile to your child’s face as they embark on a new academic adventure. Whether it’s for a lunchbox surprise, an after-school treat, or a bake sale for the classroom, these cookies are sure to be a hit.
I’ve always found that a little bit of sweetness can go a long way in making the transition back to school feel less daunting. These cookies are simple enough for even beginner bakers to tackle, and they offer a wonderful opportunity to get your kids involved in the kitchen. Imagine the pride they’ll feel biting into a cookie they helped create!
The beauty of these “Back to School” cookies lies in their versatility. We’ll be making a classic sugar cookie base, which is the perfect canvas for your creativity. Once baked, you can decorate them with royal icing to resemble school supplies like pencils, apples, books, or even tiny school buses. The possibilities are truly endless, and the decorating process itself can be a fun family activity.
Let’s get baking and make this school year a little sweeter!
Ingredients:
- 1 cup (2 sticks or 226g) unsalted butter, softened
- 1 ½ cups (300g) granulated sugar
- 2 large eggs
- 1 teaspoon vanilla extract
- 2 ½ cups (315g) all-purpose flour
- ½ teaspoon baking powder
- ½ teaspoon salt
Instructions:
Creaming the Butter and Sugar
- In a large mixing bowl, begin by creaming together the softened unsalted butter and granulated sugar. You can use an electric stand mixer with a paddle attachment, or a hand mixer. Start on low speed to combine the ingredients, then gradually increase the speed to medium-high. Continue mixing for about 3-5 minutes, or until the mixture is light, fluffy, and pale yellow in color. This process incorporates air into the dough, which is crucial for creating tender cookies. Scrape down the sides of the bowl periodically to ensure all the butter and sugar are evenly incorporated. The texture should be similar to whipped cream.
Adding the Wet Ingredients
- Next, add the two large eggs one at a time to the creamed butter and sugar mixture. Beat well after each addition to ensure the eggs are fully incorporated. Once the eggs are mixed in, stir in the vanilla extract. The vanilla extract will add a wonderful aroma and enhance the overall flavor of your cookies. Make sure to scrape down the sides of the bowl again to fully combine everything. The mixture might look slightly curdled at this stage, which is perfectly normal.
Combining the Dry Ingredients and Mixing the Dough
- In a separate medium bowl, whisk together the all-purpose flour, baking powder, and salt. This step ensures that the leavening agent (baking powder) and salt are evenly distributed throughout the dry ingredients, preventing pockets of saltiness or uneven rising in your cookies. Gradually add the dry ingredients to the wet ingredients, mixing on low speed until just combined. Be careful not to overmix the dough at this stage. Overmixing can develop the gluten in the flour too much, resulting in tough cookies. Stop mixing as soon as you no longer see streaks of flour. The dough will be soft but should hold its shape.
Chilling and Rolling the Dough
- Turn the cookie dough out onto a lightly floured surface. Gently bring the dough together into a cohesive ball. Divide the dough in half. Flatten each half into a disk, wrap it tightly in plastic wrap, and refrigerate for at least 1 hour. Chilling the dough is a critical step that makes it much easier to handle and prevents the cookies from spreading too much during baking. The cold butter firms up, slowing down the melting process in the oven. Once the dough is well-chilled, preheat your oven to 350°F (175°C). Line baking sheets with parchment paper. On a lightly floured surface, roll out one disk of dough to about ¼-inch thickness. Use your favorite back-to-school themed cookie cutters (pencils, apples, books, etc.) to cut out shapes. Reroll scraps as needed, but try to handle the dough as little as possible to keep it cold.
Baking and Cooling
- Carefully transfer the cut-out cookies to the prepared baking sheets, leaving about 1 inch of space between them. Bake for 8-12 minutes, or until the edges are lightly golden brown. The exact baking time will depend on the size and thickness of your cookies. For thinner cookies, they will bake faster. Keep a close eye on them during the last few minutes to prevent burning. Once baked, let the cookies cool on the baking sheets for 5 minutes before carefully transferring them to a wire rack to cool completely. This allows them to set up properly before moving. Allowing them to cool completely on the wire rack is essential before decorating, otherwise, your icing will melt.
Decorating Your Back to School Cookies
Once your cookies have completely cooled, it’s time for the fun part – decorating! You can use a simple buttercream frosting, or for a more polished look, consider making royal icing. Royal icing hardens beautifully, making it perfect for intricate designs and for creating that signature smooth finish. Use food coloring to bring your school-themed designs to life. Let your imagination run wild! These decorated cookies are not only a delicious treat but also a wonderful way to show your support and excitement for the new school year. Enjoy sharing these sweet little reminders of how much you care!
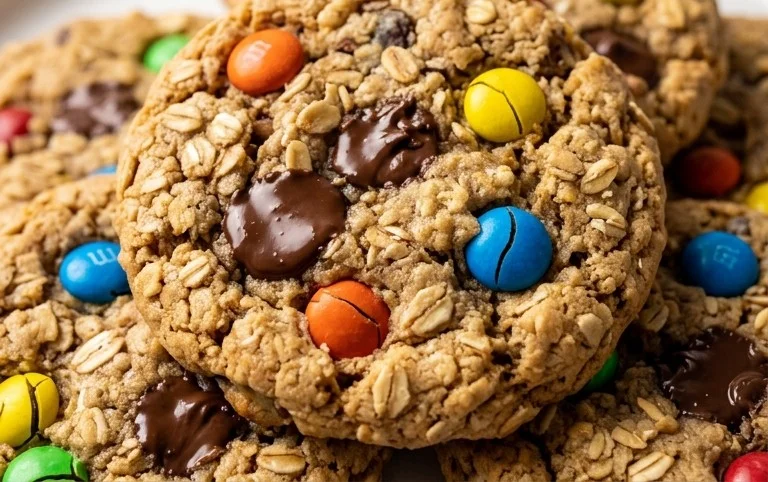
Conclusion:
There you have it – a delightful recipe for ‘Back to School Cookies’ that’s sure to be a hit with students and parents alike! These cookies are fantastic because they’re incredibly simple to make, requiring minimal fuss and pantry staples, making them perfect for busy weeknights or weekend baking sessions. Their classic, comforting flavor is universally loved, and the ability to customize them makes them even more special. Whether you’re packing them in a lunchbox, bringing them to a school bake sale, or simply enjoying them as an after-school treat, these cookies are a guaranteed win.
For serving suggestions, these ‘Back to School Cookies’ are wonderful on their own, but also pair beautifully with a cold glass of milk, a warm cup of cocoa, or even a scoop of vanilla ice cream. Looking for variations? You can easily add chocolate chips, sprinkles, or even a touch of cinnamon to the dough for a different flavor profile. Don’t be afraid to get creative!
I truly encourage you to give this recipe a try. It’s a rewarding baking experience that results in delicious, homemade goodness. Enjoy the process and, most importantly, the smiles they bring!
Frequently Asked Questions:
Can I make these cookies ahead of time?
Absolutely! These cookies can be baked and stored in an airtight container at room temperature for up to 3-4 days. You can also freeze baked cookies for up to 2 months, or freeze the unbaked dough for up to 3 months. Just thaw and bake when ready!
What are some healthy ingredient swaps I can make?
While this recipe is designed for classic comfort, you can experiment with whole wheat flour, reduce the sugar slightly, or incorporate ingredients like rolled oats or seeds for added nutrients. However, keep in mind that these swaps might alter the texture and taste.
Back to School Cookies
Celebrate the start of the school year with these festive and delicious Back to School Cookies. Perfect for lunchboxes or a sweet treat after classes.
Ingredients
-
1 cup unsalted butter, softened
-
1 1/2 cups granulated sugar
-
2 large eggs
-
1 teaspoon vanilla extract
-
2 3/4 cups all-purpose flour
-
1 teaspoon baking soda
-
1/2 teaspoon salt
-
Assorted sprinkles (school-themed)
-
Royal icing (for decorating)
Instructions
-
Step 1
Preheat oven to 375°F (190°C). Line baking sheets with parchment paper. -
Step 2
In a large bowl, cream together the softened butter and granulated sugar until light and fluffy. -
Step 3
Beat in the eggs one at a time, then stir in the vanilla extract. -
Step 4
In a separate bowl, whisk together the flour, baking soda, and salt. -
Step 5
Gradually add the dry ingredients to the wet ingredients, mixing until just combined. Do not overmix. -
Step 6
Roll dough into small balls and place them about 2 inches apart on the prepared baking sheets. Flatten slightly with the bottom of a glass or a cookie cutter. -
Step 7
Bake for 9-11 minutes, or until the edges are lightly golden brown. Let cool on the baking sheets for a few minutes before transferring to a wire rack to cool completely. -
Step 8
Once cooled, decorate the cookies with royal icing and assorted sprinkles to create fun back-to-school designs.
Important Information
Nutrition Facts (Per Serving)
It is important to consider this information as approximate and not to use it as definitive health advice.
Allergy Information
Please check ingredients for potential allergens and consult a health professional if in doubt.